Getting started
Create a new vault
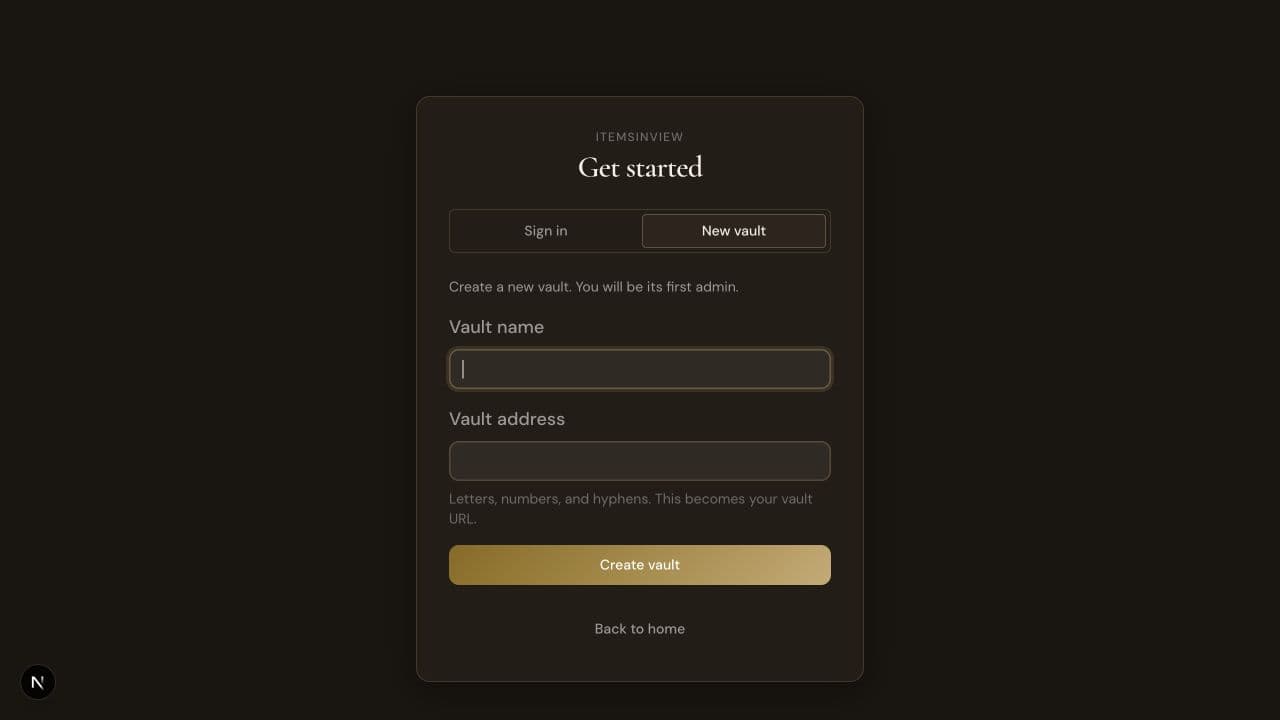
- Open the ItemsInView home page and choose Create vault. The Get started page opens on the New vault tab.
- If signed out, enter Your name, Email, and a password of 8–256 characters. If already signed in, those account fields are omitted.
- Enter the Vault name that people will see.
- Enter a unique Vault address of 3–30 characters. Use lowercase letters, numbers, hyphens, and underscores. Capital letters are converted to lowercase automatically; spaces are not accepted. A few words are reserved by the platform and will not be available. This becomes
/vault/<address>. - If vault creation is invite-only, enter the required Creation code.
- Choose Create vault. You become the first Admin and are taken into the new vault.
Existing email: If the email already has an account, use Sign in first and then create another vault. ItemsInView will not create a duplicate account.
Sign in
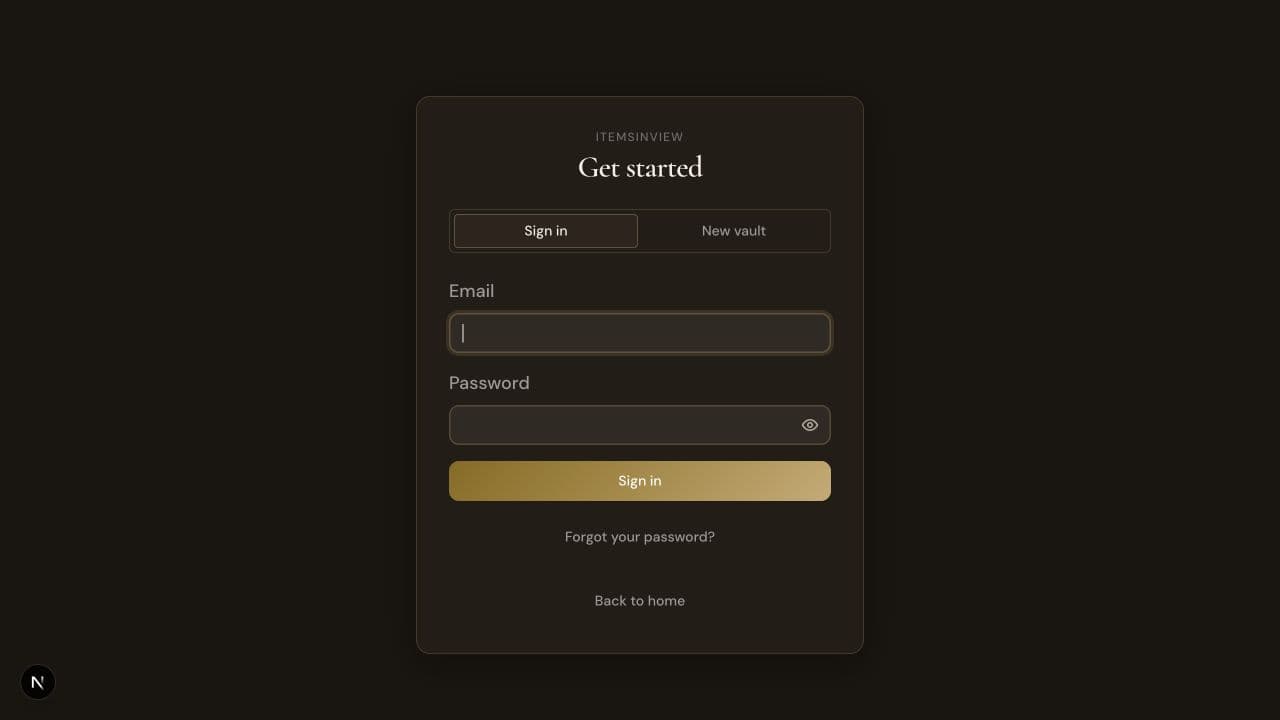
- Choose Sign in on the ItemsInView home page, or open a known vault's sign-in URL.
- Enter the global account email and password, then choose Sign in.
- If MFA is enabled, enter the six-digit authenticator code or switch to a recovery code.
- With one membership, ItemsInView opens that vault. With multiple memberships, choose a vault. With none, create a vault or accept an invitation.
Accept an invitation
- Open the invitation link from the email. Confirm the vault name shown on the page.
- Enter your name and choose a password if the invitation is creating your account.
- Enter the one-time Security code provided separately by the Admin. The format is shown as XXXXX-XXXXX.
- Choose Accept and sign in, then complete mandatory MFA enrollment before entering the vault.
Why two channels? The invitation email contains the link; the Admin should send the security code by a different channel. This second factor protects an invitation if one channel is compromised.
Set up mandatory MFA
- Choose Set up two-factor when prompted. Until enrollment is complete, the vault remains locked.
- Scan the QR code with any TOTP-compatible app, or enter the manual key.
- Enter the current six-digit code and choose Confirm and turn on.
- Save every recovery code in a secure place. Each is single-use and the set is shown only once.
- Acknowledge that the codes are saved, then enter the vault.